
Did you know? Every day in the United States, there are approximately 11 million business meetings. That translates to over 2 billion meetings a year!
With so many meetings filling up our calendars, it’s nearly impossible to attend every single one. Inevitably, there will be team members who decline the invitation and invitees who don’t show up.
Fortunately, when it comes to virtual meetings, there is a solution – record it!
With a platform like Gloww, recording a meeting and sharing it with the team or client is incredibly simple, just a few clicks and you’re done.
Let’s take a closer look at how to record a meeting and why it is important and, in some cases, even necessary.
Gloww Training: How To Record A Meeting
Meetings come in all shapes and sizes. Whether there are two participants or 10, whether it be a teams meeting, a supplier negotiation meeting, or a pitch to clients, there are several reasons why you may need to record meetings.
Why Should You Record Your Meetings?
The most common reason to record online meetings is simply to share the recordings with people who could not attend. But there are other important reasons you may not have considered, such as these:
- Having a record of processes and decisions: This provides the company with a reliable record to refer to if needed.
- Sharing information between teams: Recorded meetings can provide other teams and departments with useful information. For example, a recording of a sales pitch meeting can help the marketing team understand the customer’s mindset.
- Rewatching meetings: This is helpful for participants who want to watch the meeting again to gain more insights or confirm details.
- Legal or compliance issues: Some companies may require that meetings be recorded to comply with certain regulations or internal policies.
- Using snippets for other purposes: Clips can be used from recorded meetings to create internal HR videos, marketing videos, demos, and more.
Server-side Recording vs. Client-side Recording
When recording a meeting, there are two places it can happen: on the server side or the client side. The key difference is where the meeting recording is processed and stored.
A client-side recording is when the recording process takes place directly on the participant’s device. The video and audio data are captured locally, and rely on the ‘client’ (ie. the user’s computer or mobile device) to record online and store the meeting.
A server-side recording is when the meeting is recorded on the meeting provider’s server. The server manages the recording process, and participants’ devices mainly handle rendering and playback. An advanced cloud-based platform like Gloww uses cloud recording and cloud storage to process and host meeting files.
Different Types of Meetings You Can Host with Gloww
Gloww is an interactive video conferencing platform that supports a wide range of meetings, from 1:1 meetings to all-company meetings, onboarding new employees, pitches, and presentations to external clients. It also includes a recording feature to record teams in all kinds of meetings.
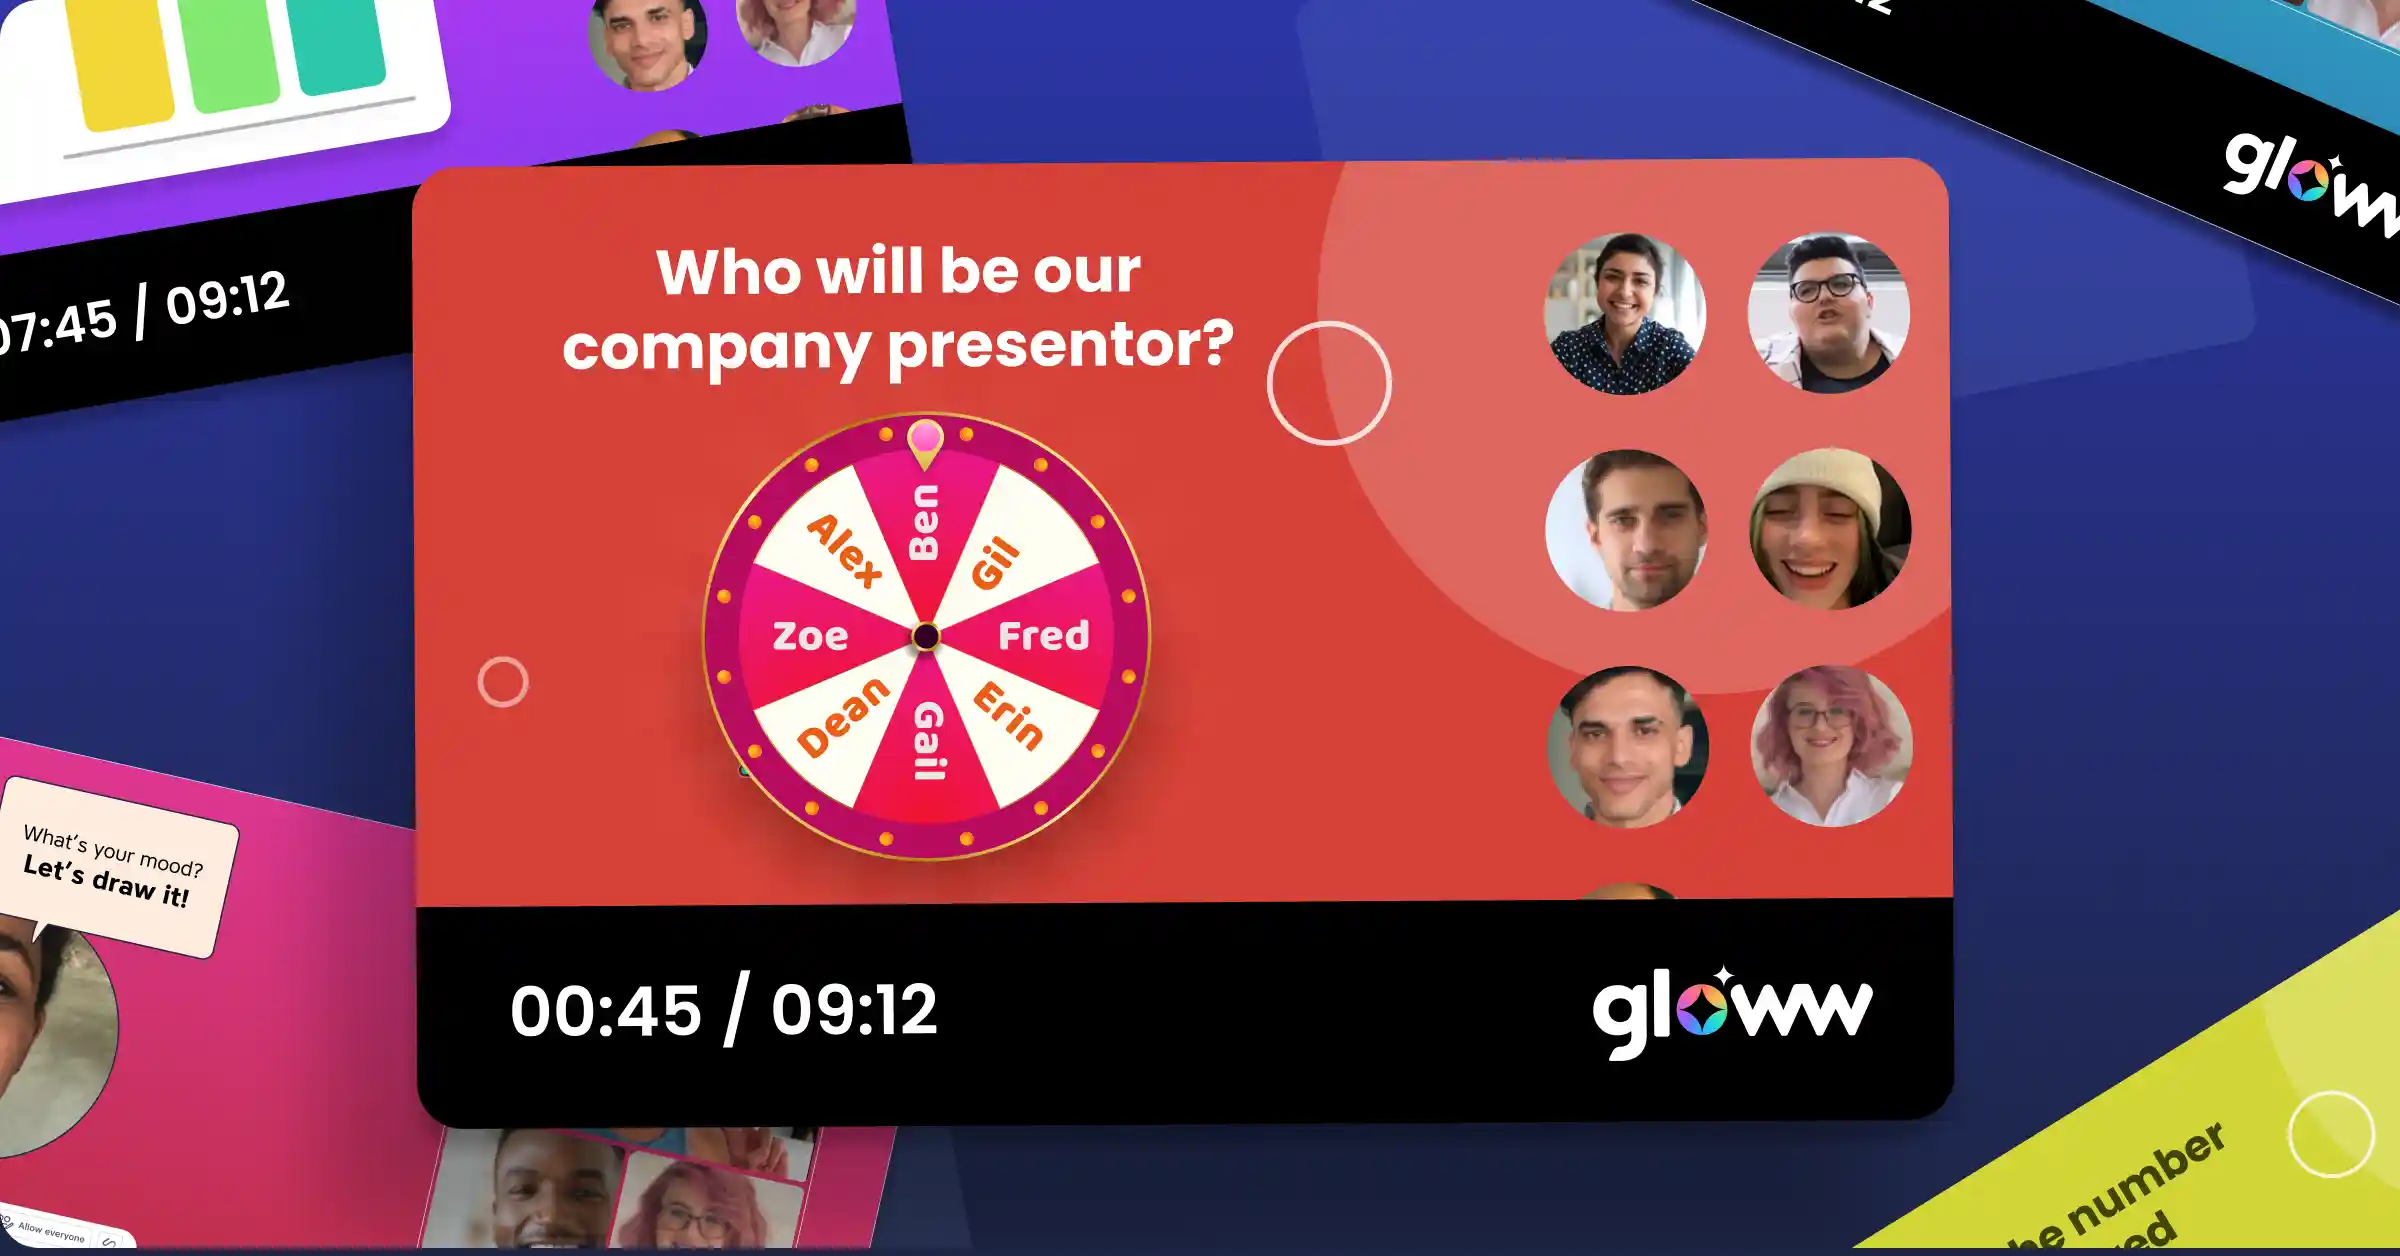
The Gloww difference is in the collection of templates that enable you to build a truly unique and engaging meeting. Gloww team meeting templates include built-in interactive features, such as polls, quizzes, ice-breaker games, and more, as well as user-friendly functionality for screen sharing, video embeds, and drag-and-drop presentation uploads. Here are the different types of meetings you can host with Gloww, with a wide range of themes to choose from:
- Team building activities
- Webinars
- Training sessions
- Onboarding
- Team weekly meetings
- Quarterly reviews
- All-hands meetings
- Pitch meetings
- 1:1 meetings
How to Easily Record Your Gloww Meetings
Gloww comes with a built-in screen recorder that is intuitive and easy to use. Gloww will remind you to start recording so you won’t ever forget to record a meeting. Plus, the system automatically requests recording permission from every meeting participant. Let’s go through the process of recording meetings with Gloww, step by step:
Step 1: Pick a Gloww Template and Create a Meeting Agenda
The template that is right for you will depend on the objective of the meeting. Is it a team-building activity, designed to give colleagues a chance to unwind together before the weekend? Is it a training session to familiarize employees with the company’s new product? Perhaps the meeting is a small brainstorming session or an all-hands meeting that requires a mix of business and ice-breaking activity.
Once you’ve decided on the goal of the meeting, select a suitable Gloww template from among the dozens available. Then, develop a comprehensive meeting agenda based on the topics to be discussed, and customize the template accordingly with the Gloww Editor. You can add background music, written content, images, videos, presentations, and PDFs. Incorporate ready-made games and quizzes or edit and create your own.
Step 2: Invite Team Members
When the template customization is complete, you can schedule the meeting and invite team members to join.
To do so, click on the Schedule button, and then click on New Invitation. Give the meeting a compelling name, and click the Create button. This will generate a link to the meeting, which you can send via Calendar invitation, email, Slack, and any other collaboration platform. Together with the link, make sure to include the meeting details in your message, such as date, time, description, whether attendance is mandatory, how to prepare, and any other relevant information.
Step 3: Wait for Participants to Join
Meeting time has arrived! Gloww meeting templates include ice-breaker activities, a smart alternative to simply waiting for everyone to join in awkward silence. Initiate an activity for those already logged in, and have some fun until the meeting is ready to start. This is a great way to warm up participants and get them feeling comfortable, engaged, and interested in what’s to come.
Step 4: Enable Recording and Screenshots
When the meeting starts, a pop-up message will appear automatically on the screen prompting you to start recording. This also enables all participants to take screenshots during the meeting for future use and reference. To start recording, click Record & Enable Screenshots.

Once you click Record, all the participants will see a pop-up on their screens notifying them that the recording has started.
How can you tell if the meeting is recorded? If the REC button at the bottom of the screen displays a red square, then the meeting is being recorded. You can start and stop recording during the meeting if necessary by clicking on the REC button.

Step 5: Conduct the Meeting
Go ahead with the meeting, following the set agenda and encouraging participants to engage with the interactive activities. Gloww will continue recording through to the end of the meeting (as long as you do not manually stop recording by clicking the REC button).
Step 6: Receive the Recap Email with Recording Link
Once the meeting is finished, there is no need to stop recording; it will stop automatically. Then, Gloww will process the recording, and a link to access it will be sent to the meeting host’s email address. The recap email also includes some important stats about the meeting, including the date and time it took place, its duration and the number of participants. Learn why meeting recaps are super important.
The recording link can be forwarded by email or chat to anyone who needs it. Simple as that!

Recording Meetings is Important…
…With Gloww, it’s also easy. Follow the simple steps above to create engaging, interactive meetings for a range of purposes – both business and team fun! – and record them in just a few clicks.
Looking for more fun interactive templates?
Check out our movie trivia template, mini neon trivia, online team building activity, online learning, and St. Patrick’s Day. Need a template for a small team meeting? We’ve got you covered.
Try Gloww and see how much better the meeting experience can be.